Mushroom Cultivation

Who wants to know about mushroom cultivation? I’m Mori Natura and in episode 2 of Season 2 of “The Positive Fantastic” Podcast, I discuss how you can grow your own shiitake mushrooms. Mushroom cultivation has been a passion project of mine, as I’ve grown my own shiitakes for over a dozen years, and I recently inoculated a new batch of oak logs because a snow storm took down an oak tree in my back yard.
This is also the first episode in my “City Mouse, Country Mouse” series on the podcast. I have a lot of friends who live in the cities of California, and who love my podcast and want to be involved in spreading the message of humans thriving and expressing themselves creatively. For each episode in the series, I’ll have a friend who lives in the city, riffing with me about some rootsy homesteading thing that I do that I want to share with “The Positive Fantastic” audience. For the mushroom cultivation process, I chose my friend Liza Scully who lives in Santa Cruz to talk mushroom shop with me.
Liza and I met through the Northern California Women’s Herbal Symposium. We got to be friends when we took a workshop that the then co-producers Terri Jensen and Karen Aguiar were teaching together about all things mushrooms. We spent several months meeting up for a weekend to forage, do mushroom crafts (dying with mushroom dyes, making tinctures, etc.), and learn about the amazing properties of the fungus among us!
The process of growing shiitakes is fairly simple. But, I made a full podcast episode and a YouTube video to flush out the details. I hope you will tune in to both to learn everything you need to know to get begin your mushroom cultivation journey!
It does require a lot of effort to get started though and the podcast and video I created aim to show you the steps from start to finish. By the end of listening to the podcast and watching the video, you’ll know what you need to do to start your own shiitake logs. Here’s ten steps to having your own mushroom cultivation process up and running!
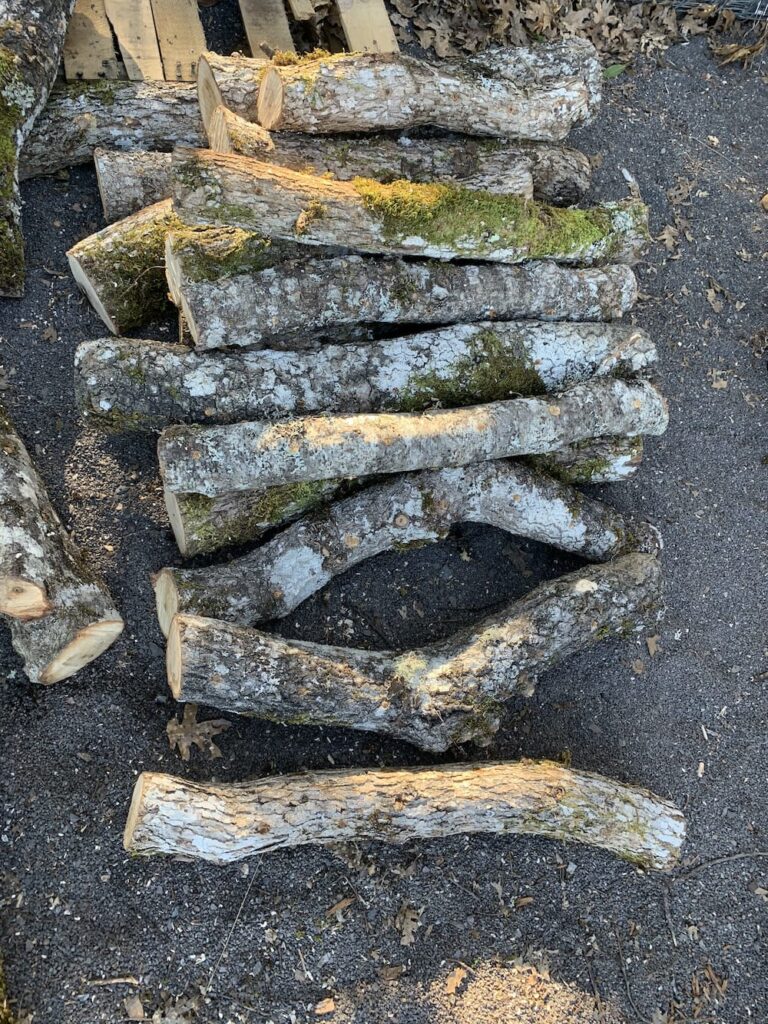
- The very first step is to harvest your logs. In Northern California, we do this when the sap is up, mid-winter. Use a saw to cut the logs into 3 foot lengths and roughly 3-8 inch diameters.
- You’ll need to store your logs off the ground for several weeks to let them cure before you begin.
- Once your logs have had some time to leech out the toxins that would kill off your mushroom spawn, set aside a full day to workshop your mushroom cultivation. You can set up your work space with everything you’ll need and you will want to assemble your team, as it’s a lot of work for one person.
- You’ll want to cut off any excess branches before you begin to ensure that the logs will stack well together later in the process.
- Then, you’re ready to Plug your logs with your spawn. For this mushroom cultivation expose, I ordered plug spawn from a mushroom cultivation catalog and stored it in my refrigerator until the day of the workshop. You can make your own plug spawn, but that’s a more in depth process. We discuss it more in the podcast, but you’ll need more assistance than I’m going to provide to carry that desire through to fruition. When I first started growing my own mushrooms, I took a class on mushroom cultivation at my local junior college, and we learned about growing out spores and tissue samples in agar mediums. It’s not really that complicated a process, but I recommend investing in a laminar flow hood so that you can have a semi-sterile environment for your scientific explorations. If you wanna just dive in though, plug spawn is the right place to begin!
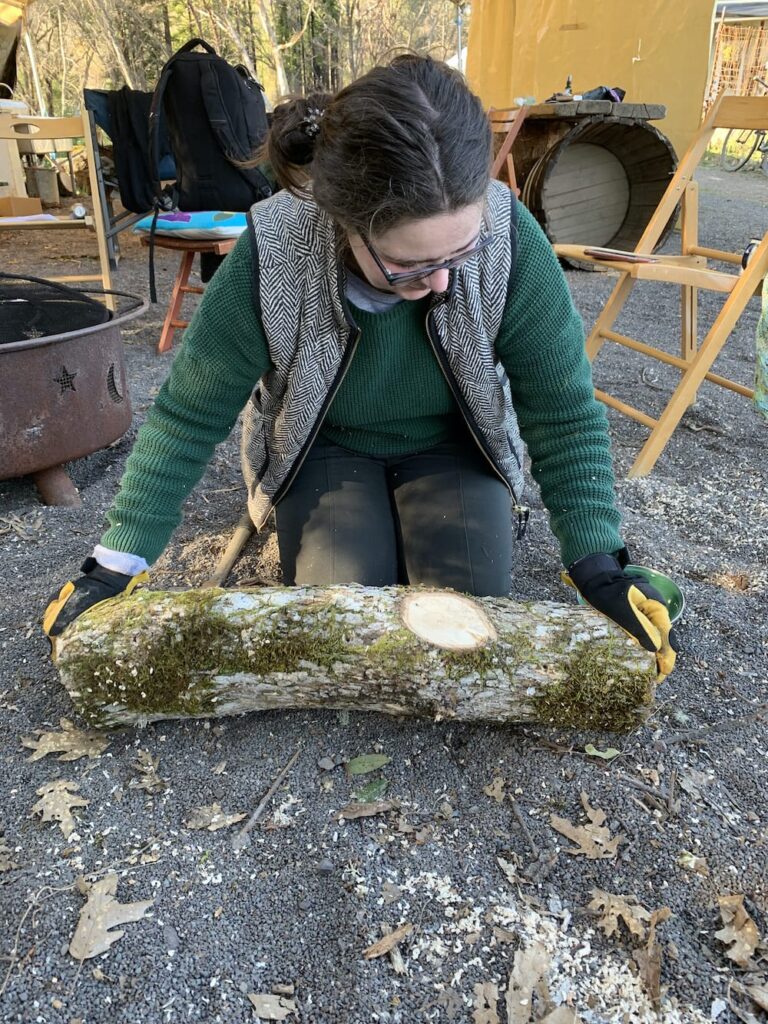
- In order to introduce the plug into your logs, you’ll need to drill holes in rows along all sides of your log. Drill a row with holes spaced at roughly 6-8 inches apart. Then, rotate your log, and drill another row, aiming to make the holes in a diamond pattern to most effectively inoculate your oak log. From time to time, clear away the sawdust and make sure that you’ve got all the holes you need. It can be difficult to see holes that you have already drilled because of the moss coverings and bark patterns on your log.
- Then you’re gonna add your plug spawn, which is basically a little wooden dowel that has already been inoculated with the type of mushroom you want to grow. If you’ve never cultivated mushrooms before, I recommend getting a kit that comes with the proper drill bit sized for your holes and written instructions to help you achieve success your first time. The plugs fit into the holes you’ve drilled. And then, you simply hammer each plug down into the hole until it is flush with the bark on the log. You just need a hammer and a bunch of plugs to complete this step. Keep hammering until all your holes have been filled with plugs.
- The next step is to apply a thin layer of wax to cover the plugs. This helps give the mycelium on the plugs an advantage over the other spores and wild mushroom inoculates that also would want to colonize your log. A Wax that is easy to spread usually comes with a mushroom plug spawn kit. You can alternatively melt beeswax and apply that in the same fashion. I had a crew of three women, myself included, work-shopping our palette of shiitake mushroom logs. We worked pretty much all day drilling holes, hammering in the plugs, and sealing them up with wax. I highly recommend having a good crew, and spending the time to visit while you work. It’s a great time to have a fire, make some thermoses of hot tea, and enjoy the fresh air. At the end of the day, you’ll have so many logs that will produce shiitake mushrooms for you!
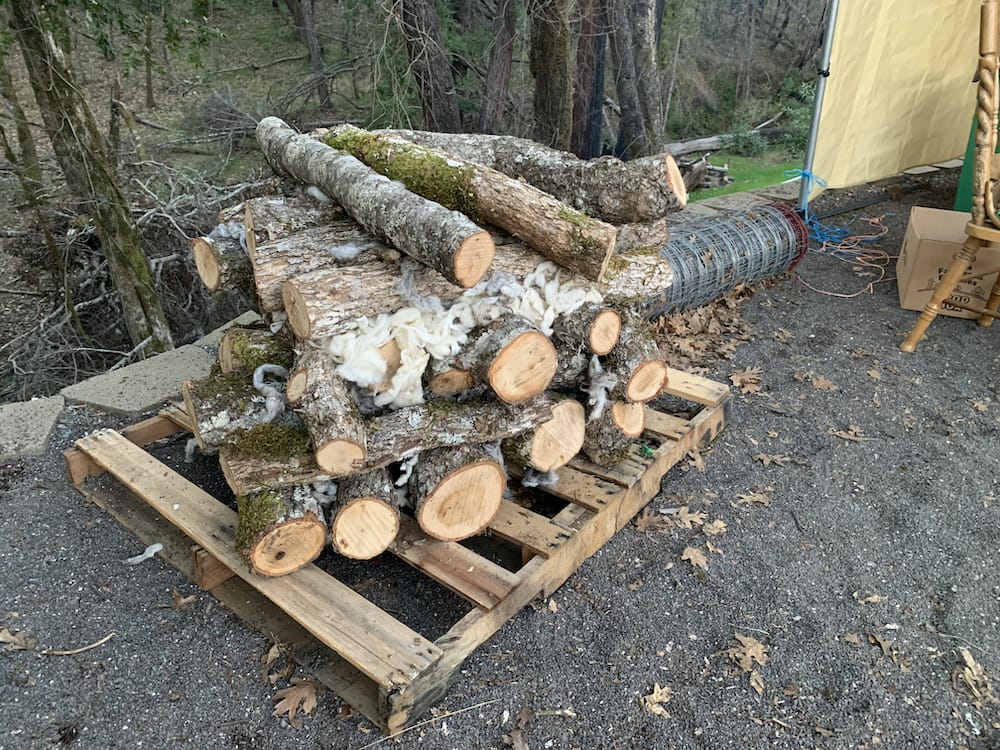
- Until the following Fall, I stack my logs on a palette. They need to be off of the ground to give the shiitake mycelium the best chance of inoculating your logs. They need to stay moist through the hot, dry summer, and unless you have a cave or a cold storage, I recommend finding a spot in the shade. Layer the logs one way and then the other. I like to place sheep’s wool in between each of my logs because it holds moisture that the logs need to keep myceliating. Once you have your pallet in place, water it in and keep watering to the tune of 1 inch of rainfall every week. Some people set up overhead sprinkler systems or drip line mister irrigators. Whatever you do, keep your logs wet. After their initial soak, I cover my entire pallet with burlaps bags to assist the logs in staying moist. If you have plugged your logs in the Winter in Northern California, keep watering until the next Fall when rainfall and cooler temperatures have arrived. Different climates require different procedures, but keep in mind that you want to harvest logs when the sap is up, plug them after you’ve let the logs cure for a couple weeks, and wait until the cool, moist time of the year to expect your first fruit.
- The first Fall, I will try to force a flush. I place my logs in a cold water bath for a day.The smaller diameter logs have a really good chance of giving mushrooms that first Fall. Some of the bigger logs may need more time however. You should continue to keep the wet regardless. Congratulate yourself! You did it!!!


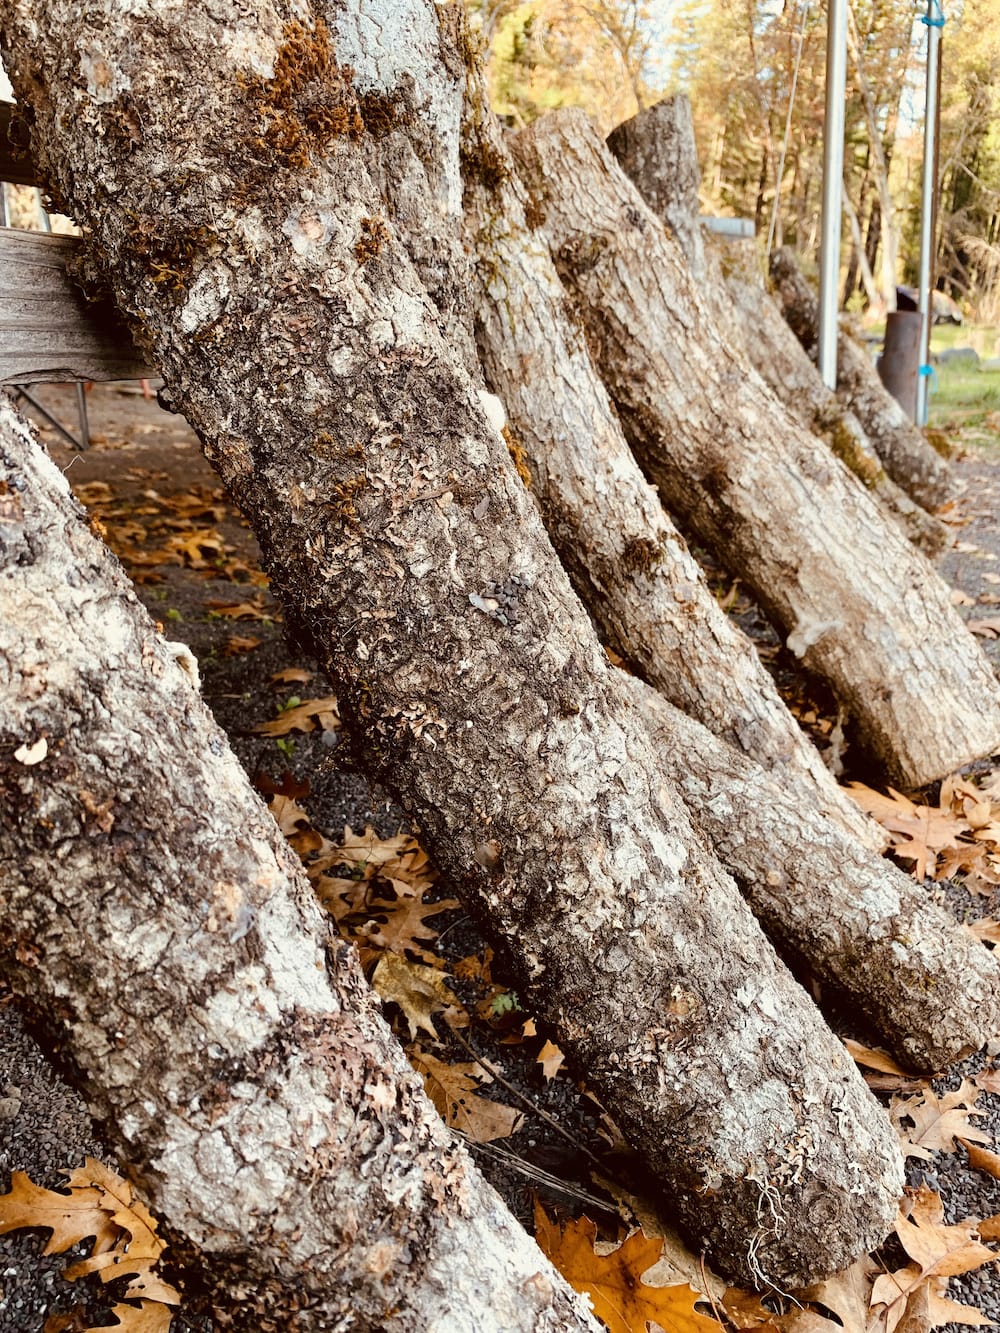
If you follow these ten steps, you’re well on your way to having your own mushroom cultivation set up! Sometime during the year while you’re watering and waiting, you can build your mushroom harvesting set-up. I stand the logs upright, slightly apart from each other, for ease of harvesting the shiitakes once they fruit. Maybe you have something ready to go that you can lean your logs against already? You can place them in a shady, cool place. In the past I have built a wooden A-frame that I could lean all of my logs against. Occasionally rotate your logs so that you can see where the mushrooms are developing. Your logs can produce mushrooms in the cool seasons for several years to come!
I hope you have enjoyed this blog about mushroom cultivation. For more details about the process described here, please tune into “The Positive Fantastic” podcast “Mushroom Cultivation” episode to hear a thorough discussion about exactly what you need to do to cultivate your own shiitake mushroom logs and watch my short Tutorial on Youtube to see the steps illustrated clearly.
Recent Comments